Best Strategies for Building a Gaming PC under Budget
I show how I plan my budget and priorities for a cheap but powerful gaming PC. I set a clear total budget and choose which parts to spend more on and which to save on. I pick affordable GPUs with real benchmarks and weigh new mid-range versus used cards while using a safe-buy checklist. I choose budget CPUs that balance cores and clock speed and check compatibility so nothing breaks. I find trusted sellers for used parts, test gear before I buy, and follow simple safety steps. I plan smart upgrades and tune settings, drivers, and cooling to squeeze more FPS. This guide walks through my full process with clear, practical tips I use to build a great gaming PC on a tight budget.
Key Takeaway
- Balance CPU and GPU for value
- Buy used parts carefully to save money
- Reuse safe parts like case and PSU
- Upgrade SSD and RAM first
- Hunt sales and compare prices

How I Plan My Budget and Priorities for Best Strategies for Building a Gaming PC under Budget
How I set a clear total budget for a budget gaming PC build
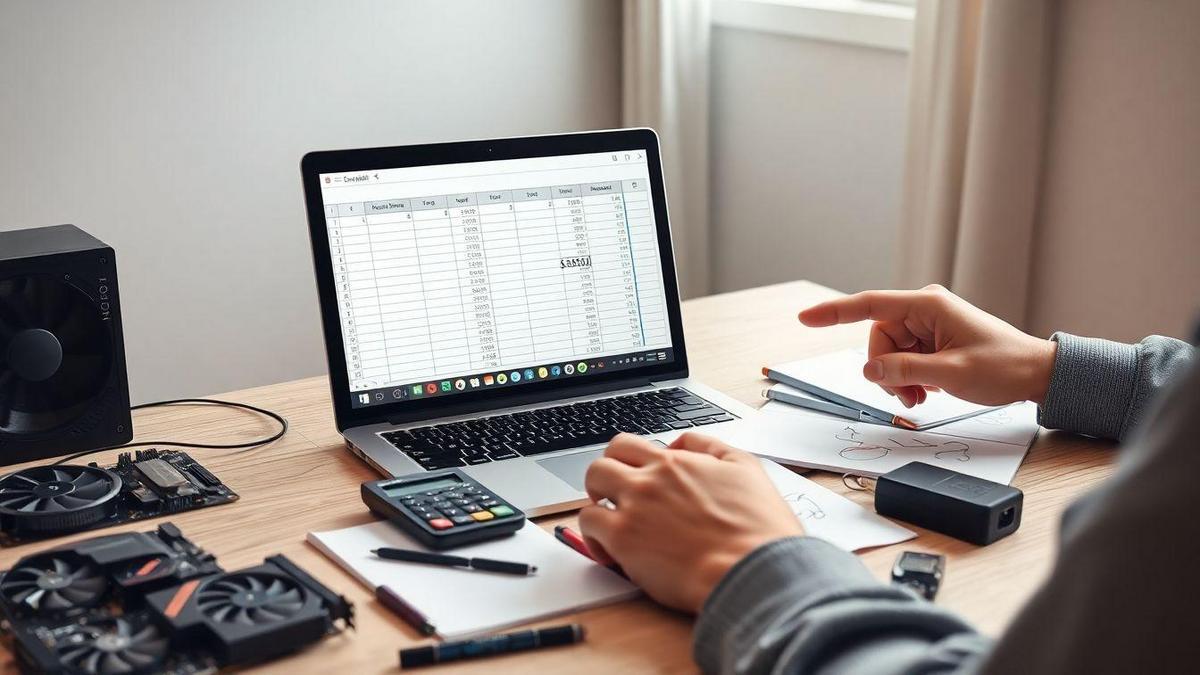
I start by picking a total budget I can live with. I ask which games I want to play and at what settings — that sets the tone. I pick a hard cap and add a small buffer for sales or shipping (for example, target $800 with $50 extra). I treat the budget like a pie and slice it by priority, then write the number down and refuse to go past it unless a key part is a clear bargain.
How I decide which parts to spend more on vs save on
I rank parts by impact on frame rates and smooth play. Spend on GPU and CPU, invest in a quality PSU, and save on things that don’t affect gameplay much: case, extra fans, and flashy RGB. Prioritize SSD capacity, then RAM speed if the budget allows. Check the used market for parts with good resale value.
My simple parts list and price targets
Compact targets for an $800 build (adjust if your total changes):
| Part | Target % of Budget | Price Target (USD) |
|---|---|---|
| GPU | 35% | $280 |
| CPU | 18% | $144 |
| Motherboard | 10% | $80 |
| RAM (16GB) | 8% | $64 |
| SSD (500GB NVMe) | 8% | $64 |
| PSU (Quality) | 7% | $56 |
| Case | 6% | $48 |
| Cooling / Fans | 4% | $32 |
| Misc / Peripherals | 4% | $32 |
Notes:
- GPU and CPU move the needle most. Stretch budget to the GPU first.
- If a fair used GPU shows up, jump on it — it cuts cost quickly.
How I Pick Affordable Graphics Cards for Gaming to Build a Cheap Gaming PC
I focus on data: get the most performance for the least money. Below: how I compare cards, choose between new or used, and my buying checklist.
How I compare affordable graphics cards for gaming using real benchmarks
Use trusted benchmark sources (TechSpot, GamersNexus, Hardware Unboxed). Compare at your target resolution (usually 1080p or 1440p), check average FPS, 1% lows, power draw, and temperatures, and read reviewer notes about drivers.
I calculate price per frame: GPU price ÷ expected average FPS at your target settings. That tells which card gives the best value.
| Metric | Why I check it | How I record it |
|---|---|---|
| Average FPS | Typical speed | Copy from benchmark at same game/settings |
| 1% lows | Smoothness | Copy 1% low results |
| Power draw | PSU & heat needs | Note peak watts |
| Temps | Airflow check | Note peak GPU temp |
| Driver notes | Stability & features | Read reviewer notes |
| Price | Current market value | Note current street price |
How I choose between new mid-range GPUs and used GPUs to save money
Weigh risk vs reward:
| Factor | New mid-range GPU | Used GPU |
|---|---|---|
| Price | Higher, stable | Lower, can be great deals |
| Warranty | Full | Often none or short seller guarantee |
| Power efficiency | Better | Older, less efficient |
| Risk of failure | Low | Higher if mined/heavily used |
| Performance per dollar | Good | Can be excellent if price is right |
Decision rules:
- Want peace of mind and warranty → new mid-range
- Need max frames on a tight budget and can test beforehand → used
- Big price gap and passes checks → buy used
My checklist for buying an affordable graphics card safely
I only buy if most boxes are green:
- Seller history: feedback and ratings
- Warranty & returns: remaining warranty or seller window
- Photos & serial number: verify age
- Physical condition: no bent fins, burns, heavy dust
- Power connectors: ensure PSU compatibility
- VRAM: match resolution and games
- Test in person: boot & run a short benchmark if possible
- Ask about use: mining or 24/7 loads
- Price per frame: compare to benchmarks
- Receipt: original purchase proof if available
I treat this checklist like a map — it keeps me out of bad deals.

How I Choose Budget CPUs for Gaming That Fit My Build
How I pick budget CPUs for gaming by balancing cores and clock speed
Pick by game type:
- Esports (CS:GO, Valorant): favor clock speed and single-core performance.
- Open-world / simulation: more cores help.
- Streaming: 8 cores.
Quick rules:
- 1080p competitive: high clock (4.0 GHz), 4–6 cores
- 1440p / GPU-heavy: 6–8 cores, decent clocks
- Streaming/gaming: 8 cores
Check IPC and modern architecture — newer chips can beat older higher-clock CPUs.
How I check CPU compatibility with motherboard and RAM to avoid surprises
Checklist before buying:
- Socket: match CPU and motherboard (AM4, LGA1700, etc.)
- Chipset: features like PCIe lanes and overclock support
- BIOS: may need update for CPU
- RAM: speed and dual-channel support
- TDP / VRM: ensure motherboard can handle the CPU
- Cooler fit: mounting and height in case
I screenshot the motherboard compatibility list — saved me from returns.
Tips to avoid CPU–GPU bottlenecks and save money
- Match the CPU to your GPU tier.
- CPU matters more at 1080p; GPU dominates at 1440p/4K.
- Buy last-gen CPUs when they drop in price.
- Avoid extreme overclocking on cheap motherboards.
- Use game-specific benchmarks.
| GPU Tier | CPU I’d pair (budget view) |
|---|---|
| Entry / GTX 1650 | 4–6 cores, 3.8 GHz |
| Mid / RTX 3060 | 6–8 cores, 3.8–4.0 GHz |
| High / RTX 4070 | 8 cores, balanced clocks |
How I Use Used Parts for Budget Gaming PC to Cut Costs
I follow the Best Strategies for Building a Gaming PC under Budget by buying good used parts — low cost with solid parts. Below: where I look, how I test, and safety steps.
Where I find trusted sellers and dealers for used parts
Good sources:
- Local (Facebook Marketplace, Craigslist): can inspect & test
- eBay (with buyer protection): large stock and reviews
- Reddit r/hardwareswap: honest traders, feedback
- Refurbishers / open-box retailers: some short warranties
- Local repair shops: bench-tested used parts
How I test used GPUs, CPUs, and motherboards before I buy
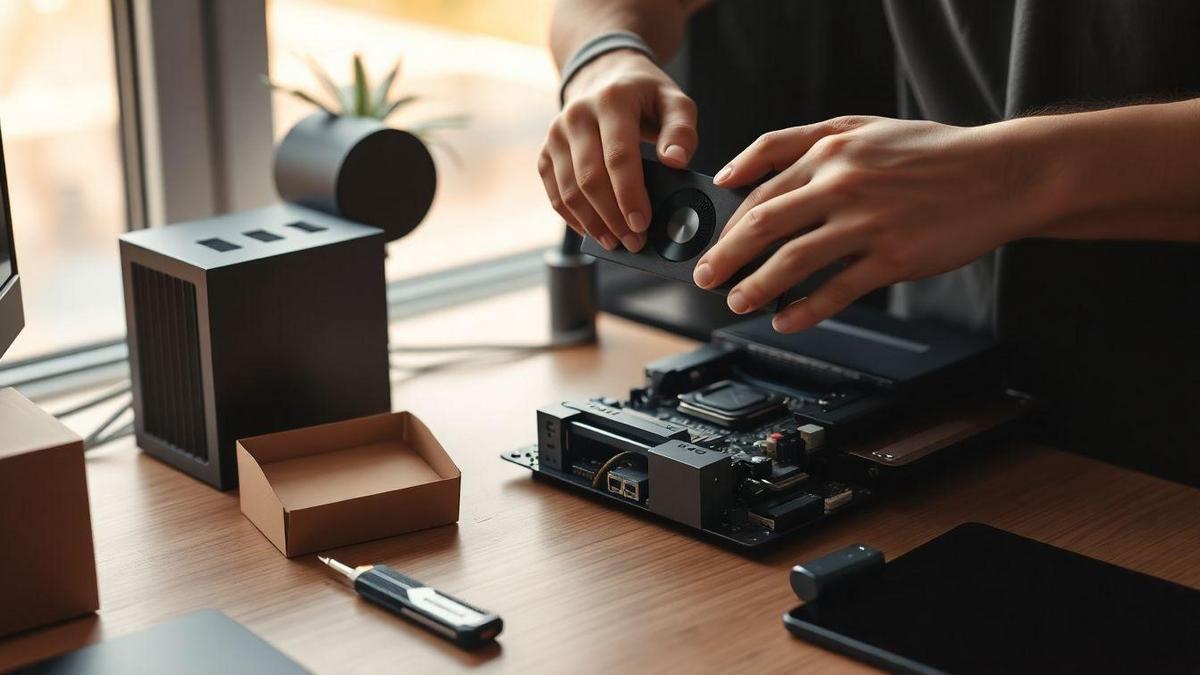
Test smart and fast. Ask for clear photos; if meeting in person, bring a test rig.
Quick checks:
- GPUs: bent fins, fan issues, run a short stress or game, watch for artifacts, temps, coil whine
- CPUs: bent pins/damage, boot to BIOS, check temps under load
- Motherboards: inspect capacitors, burn marks, POST with one RAM stick, check ports
| Part | Quick tests | Red flags |
|---|---|---|
| GPU | Boot, 5–10 min stress, check temps | Artifacts, unstable drivers, loud fans |
| CPU | Boot to BIOS, brief stress, temp read | Bent pins, high idle temp |
| Motherboard | POST test, check SATA/USB/PCI | Swollen caps, failed POST |
If I can’t test in person, I request a video of the part running and the serial number to check warranty/recalls.
My safety steps, return checks, and what to avoid
- Ask for proof of purchase or warranty.
- Request a short video — no video lowers trust.
- Meet in public, daylight; bring a friend if unsure.
- Use payment methods with buyer protection.
- Check serial numbers online if possible.
Avoid:
- Parts with burnt smell, bent pins, broken connectors
- “Miner” GPUs with heavy wear and no proof of light use
- No-return listings from unknown sellers
A short return window from the seller is a helpful safety net.

How I Save Money on Gaming PC Build with Smart, Cost-Effective Upgrades
How I pick the best components for budget gaming PC to get max value
I focus on value per dollar, not specs on paper. Common choices:
- GPU: last-gen mid/high model for best cost-to-performance
- CPU: mid-range current or last-gen
- RAM: 16GB (2×8GB) now, expand later
- SSD: NVMe for OS and main games
- PSU: quality unit with headroom (buy once)
- Motherboard: B-series/mid-range with spare M.2
| Component | What I pick | Why | Budget tip |
|---|---|---|---|
| GPU | Last-gen mid/high | Cost-to-performance | Watch sales & open-box deals |
| CPU | Mid-range | Good single-core speed | Avoid top-tier unless needed |
| RAM | 16GB (2×8GB) | Smooth gaming | Buy matching sticks for upgrade |
| Storage | 500GB NVMe | Fast load times | Add HDD later for bulk storage |
| PSU | 650W 80 Bronze | Protects parts | Buy quality once |
| Motherboard | B-series | Upgrade sockets/ports | Pick one with spare M.2 |
How I plan cost-effective upgrades and an upgrade path
Start with parts that last: PSU and motherboard that allow future upgrades. Timeline:
- Year 1: fine-tuning (storage, cooling)
- Year 2: upgrade GPU
- Year 3: upgrade CPU if needed
Sell old parts to fund upgrades, and track prices for months to catch sales.
| Stage | What I do | Goal |
|---|---|---|
| Build | Solid PSU, good mobo, 16GB RAM, NVMe | Upgradeable system |
| Short (6–12 mo) | Add storage or better cooler | Comfort & load times |
| Mid (12–24 mo) | Upgrade GPU | Big FPS jump |
| Long (24–36 mo) | Upgrade CPU/RAM | Match newer games |
Upgrade priority list
- GPU — biggest impact for gaming
- SSD (NVMe) — faster loads, cheap noticeable gain
- RAM — move to 32GB only if needed
- Cooling — better thermal headroom
- CPU — only if bottleneck is clear
- PSU — replace only if wattage/quality is low
How I Optimize Performance for Budget Gaming PC with Tuning and Cooling
How I tune game settings, drivers, and Windows
- Keep GPU drivers and chipset drivers current (check monthly).
- Lower shadows, post-processing, and texture where needed; keep resolution/draw distance higher if you prefer clarity.
- Use DLSS or FSR when available for big FPS boosts with minimal visual loss.
- Windows: use High performance power plan, enable Game Mode, stop unnecessary background apps, and disable heavy Windows visual effects.
| Change | How I do it | Typical impact |
|---|---|---|
| Update GPU drivers | Vendor app (NVIDIA/AMD) | 5–15% FPS, fewer stutters |
| Shadows & post effects | In-game | Big FPS gain, low visual cost |
| DLSS/FSR | Enable in-game | Large FPS boost on supported titles |
| Power plan & Game Mode | Windows settings | Small consistent improvement |
| Disable background apps | Task Manager/startup | Reduces stutters and CPU load |
Test after each change. Keep tweaks that improve smoothness, not just numbers.
How I improve airflow, cooling, and power use
Good airflow is the most cost-effective physical upgrade. Clear cable paths, balanced intake/exhaust fans, and clean filters reduce temps and throttling. Reapply thermal paste periodically; undervolt GPU/CPU before buying new coolers for immediate temp & power gains. Use a quality PSU with enough wattage and efficiency.
| Upgrade/Tweak | Cost | Benefit |
|---|---|---|
| Add 1–2 case fans | $10–$30 | Lower temps, fewer throttles |
| Reapply thermal paste | $5–$15 | Better heat transfer |
| Undervolt GPU/CPU | Free | Lower temps & power, same FPS |
| Aftermarket CPU cooler | $30–$60 | Major temp drop |
| Quality PSU | $50–$100 | Stable power, less crash risk |
Small fixes (cleaning dust, replacing a bad PSU) often yield big stability improvements.
My monitoring & maintenance routine
Monthly checklist:
- Check temps and load with MSI Afterburner or HWMonitor
- Update drivers if games show issues
- Clean dust from fans/filters
- Run a 10–15 minute game test after tweaks
- Run a quick benchmark after major changes
Treat your PC like a car: small maintenance prevents big failures.
Conclusion
Keep it simple: set a firm budget, slice the pie by priority, and spend where it truly matters — usually the GPU and CPU. Treat parts like dance partners: they need to move together. Rely on benchmarks, a trusted checklist, and real-world tests before you buy. Hunt sales, use used parts carefully, and verify seller history and warranty when possible.
Favor practical upgrades: a solid PSU, NVMe SSD, and 16GB RAM at first, then save for the GPU that moves the needle. Squeeze performance with smart tuning — driver updates, sensible in-game settings, DLSS/FSR, better cooling, or simple undervolting before splurging. Regular maintenance — cleaning, monitoring temps, and testing after changes — extends your build’s life.
Following these Best Strategies for Building a Gaming PC under Budget gets you the best value per dollar without heartbreak. Be patient, follow the map, and test before you trust. Want more practical tips and deep dives? Read more at https://geeksnext.com.


