
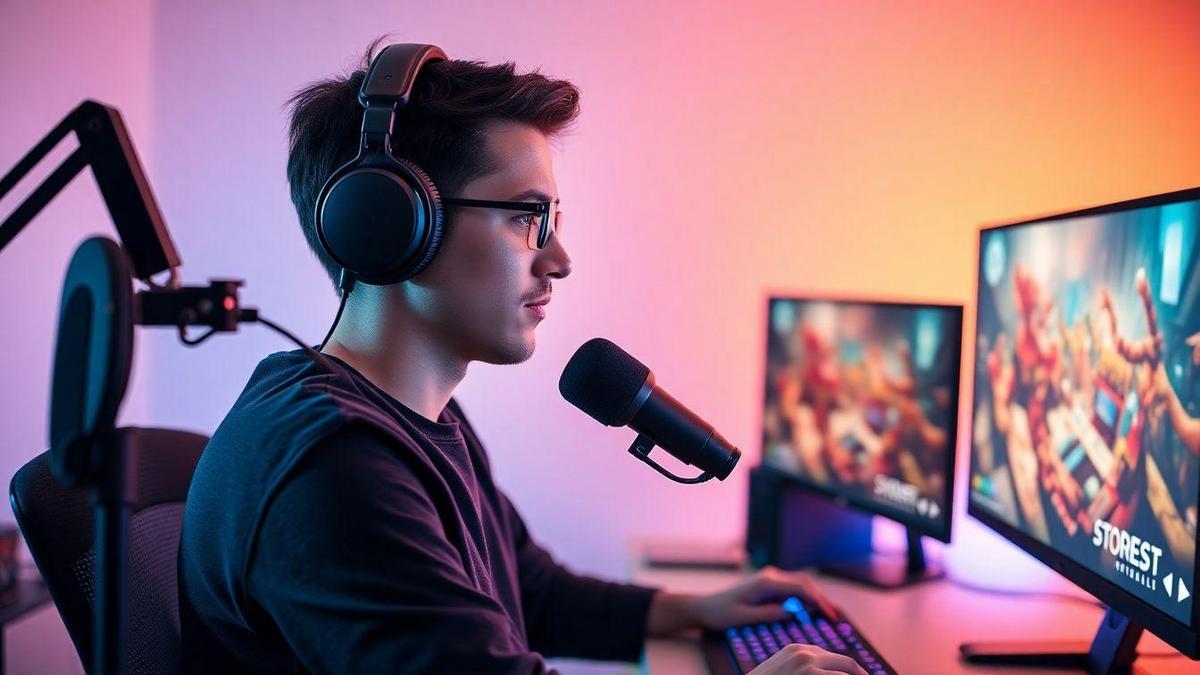
Ultimate Guide to Choosing the Best Gaming Gear for Streaming Quality
I walk you through picking the gear I use to make my stream look and sound great. This Ultimate Guide to Choosing the Best Gaming Gear for Streaming Quality covers webcams, mics, capture cards, and key specs like resolution, bitrate, and USB/XLR connections. I test webcams for frame rate, low light, and field of view, weigh USB cams against HDMI capture, compare dynamic and condenser mics, check gain and noise, and show simple accessories like pop filters and shock mounts. I build a budget setup with upgrade paths, tune lighting with ring lights or LED panels, and dial in OBS with the right encoder, bitrate, resolution, and FPS while watching my CPU and GPU.
Key Takeaway
- Pick a clear mic first.
- Choose a camera that fits your budget.
- Add soft lighting to look great.
- Ensure your PC and capture gear can handle your settings.
- Check your internet and have a backup.
I Follow the Ultimate Guide to Choosing the Best Gaming Gear for Streaming Quality to Pick Core Gear
Core pieces: webcam, mic, capture card
I keep my setup simple and focus on three core pieces: webcam, mic, and capture card. Each has one job: the webcam shows my face, the mic captures my voice, and the capture card records a console or second PC. Bad audio ruins a stream faster than bad video—buy the best mic you can afford first.
| Gear | Why it matters | Quick tip |
|---|---|---|
| Webcam | Gives clear video of you | Aim for at least 1080p |
| Mic | Makes your voice sound good | Use a pop filter and position close |
| Capture card | Lets you stream console or second PC | Use USB 3.0 for low lag |
I check specs: resolution, bitrate, USB or XLR
Read specs—resolution, bitrate, and connection type (USB/XLR) tell you whether gear will work with your rig.
| Spec | What I choose | Why it matters |
|---|---|---|
| Resolution | 1080p at 30–60fps | Clear video without huge files |
| Bitrate | 4,000–6,000 kbps for 1080p | Keeps motion smooth on Twitch |
| Connection | USB for plug-and-play; XLR for higher quality | USB is simple; XLR needs an interface but sounds better |
Test settings with short streams. Lower bitrate if viewers buffer. Switch to XLR if you want a fuller mic tone and have an audio interface.
I rank best streaming gear by value and reliability
I choose gear that lasts and delivers good sound without breaking the bank. Ranking is based on hands-on use and common streamer picks.
| Rank | Category | My pick | Why I like it |
|---|---|---|---|
| 1 | Mic (USB) | Blue Yeti | Great sound, easy to use |
| 2 | Mic (XLR) | Shure SM7B | Pro sound, needs an interface |
| 3 | Webcam | Logitech C920 | Solid 1080p picture at a good price |
| 4 | Capture Card | Elgato HD60 S | Low latency, plug-and-play |
| 5 | Budget Capture | AverMedia Live Gamer Mini | Cheap and reliable for starters |
Start with a reliable USB mic like the Blue Yeti to save setup time, then upgrade to XLR later for richer sound.
I Pick the Best Webcams for Streaming That Match My Camera Needs
Compare webcams by resolution and frame rate
I follow the Ultimate Guide to Choosing the Best Gaming Gear for Streaming Quality when choosing a webcam—focus on resolution, frame rate, and what your upload speed can handle.
| Resolution / Frame Rate | When I pick it | Bandwidth needs (approx.) |
|---|---|---|
| 720p @ 30fps | Casual streams, low CPU | ~1.5–3 Mbps |
| 1080p @ 30fps | Clear video for most streamers | ~3–5 Mbps |
| 1080p @ 60fps | Fast gameplay, smooth motion | ~5–8 Mbps |
| 4K @ 30fps | High-detail facecams or production | ~15 Mbps |
Checklist:
- Check upload speed; drop frame rate first if low.
- Match resolution to your content—fast action needs higher fps.
- Prefer 1080p60 for gameplay, 1080p30 for chat.
Test low-light performance and field of view
Test webcams in your actual streaming room. You want a camera that holds color and minimizes noise in dim light.
Quick tests:
- Turn off overhead lights and stream for a minute—watch for noise and color shifts.
- Move the camera to test focus stability.
- Try night modes in the webcam software.
| Field of View (FOV) | How I use it |
|---|---|
| 60–75° (narrow) | Close-up shots, background blur |
| 78–90° (standard) | Single streamers at a desk |
| 100° (wide) | Small group or showing desk/actions |
Avoid wide FOVs in small rooms—faces look tiny. Pick FOV to match setup and watch for autofocus hunting.
USB webcam vs HDMI capture
Weigh cost, quality, and complexity:
| Feature | USB Webcam | HDMI Capture |
|---|---|---|
| Setup speed | Fast, plug-and-play | Slower, needs camera capture card |
| Image quality | Good for webcams | Better with mirrorless/DSLR |
| Latency | Low | Low to moderate |
| Portability | High | Lower |
| Cost | Lower overall | Higher (camera card) |
Rule: use USB webcam for fast setups, HDMI capture when image quality is the priority.
I Choose Microphones for Streaming to Make My Voice Clear
Dynamic vs condenser: basics
Compare dynamic and condenser by strengths:
- Dynamic: good at rejecting room noise, warm, handles loud sources—best when your room is noisy.
- Condenser: more sensitive, picks up detail and brightness—best in quiet rooms.
| Feature | Dynamic | Condenser |
|---|---|---|
| Sensitivity | Low — good for noisy rooms | High — great for detail |
| Noise rejection | Strong | Moderate |
| Best for | Loud rooms, spoken voice | Quiet rooms, soft vocals |
| Typical connection | XLR | XLR or USB |
Real example: switching to a dynamic mic during noisy neighbor drilling kept my voice clean and made streams sound more professional.
Connections, gain, and noise
- USB mics: plug-and-play simplicity.
- XLR: needs interface but gives more control and better sound.
- Watch gain: too low = weak voice; too high = hiss or clipping.
| Thing to check | What I do |
|---|---|
| Connection | USB for simplicity, XLR for quality |
| Gain | Set peaks below clipping light |
| Noise level | Record a test and listen for hiss |
Quick routine: record a test clip at normal volume, listen back, drop gain and move the mic closer if hiss appears. Small moves make a big difference.
Accessories that matter
Never skip small accessories:
- Pop filter — reduces plosives (P and B).
- Shock mount — blocks desk vibrations.
- Boom arm — positions mic without touching it.
- Foam windscreen — helps in drafty rooms.
These tools tightened my voice and improved chat reactions.
I Build a Budget Streaming Setup That Keeps Quality Low Cost
Solid parts and upgrade paths
I pick parts that perform now and allow easy upgrades. Follow the Ultimate Guide to Choosing the Best Gaming Gear for Streaming Quality as a checklist: prioritize CPU, GPU, RAM, and storage. Avoid flashy extras that don't improve stream quality.
- Buy a mid-range CPU that can handle encoding or allow capture card use.
- Choose a GPU that runs your games at your target resolution.
- Start with 16 GB RAM and an SSD for fast loads.
| Part | What I look for | Why it matters |
|---|---|---|
| CPU | 6–8 cores, good single-thread | Handles encoding and game logic |
| GPU | Mid-range current gen | Smooth framerate while streaming |
| RAM | 16 GB (upgradeable) | Keeps apps and stream software smooth |
| Storage | 500 GB SSD HDD | Fast boot and room for recordings |
Prefer motherboards with extra RAM slots and free M.2 ports so you can grow without replacing everything.
Match PC specs to games and resolution
Map game type to target resolution to keep cost down and quality high.
| Game Type | Target Resolution | Minimal Specs I use |
|---|---|---|
| 2D indie / eSports | 720p60 | Quad-core CPU, entry GPU, 16 GB RAM |
| Modern shooters | 1080p60 | 6–8 core CPU, mid GPU, 16–32 GB RAM |
| AAA high settings | 1440p60 | 8 cores, strong GPU, 32 GB RAM |
Choose software or hardware encoding: use x264 if CPU strong; use NVENC or AMD VCE if GPU is better. Lower in-game settings before reducing stream bitrate to keep visual quality.
Affordable capture cards
Add a capture card to offload encoding or capture consoles—useful for saving CPU.
| Card | Use Case | Pros | Price Range |
|---|---|---|---|
| USB 3.0 HDMI 1080p60 | Casual console / PC | Cheap, plug-and-play | $60–$120 |
| PCIe 1080p60 | Desktop with expansion | Lower latency, stable | $100–$200 |
| 4K passthrough | 4K console with 1080p stream | Future-proof, versatile | $150–$250 |
Test each card before big streams—check latency and driver support. Reuse capture cards for capture-only tasks if you upgrade the PC.
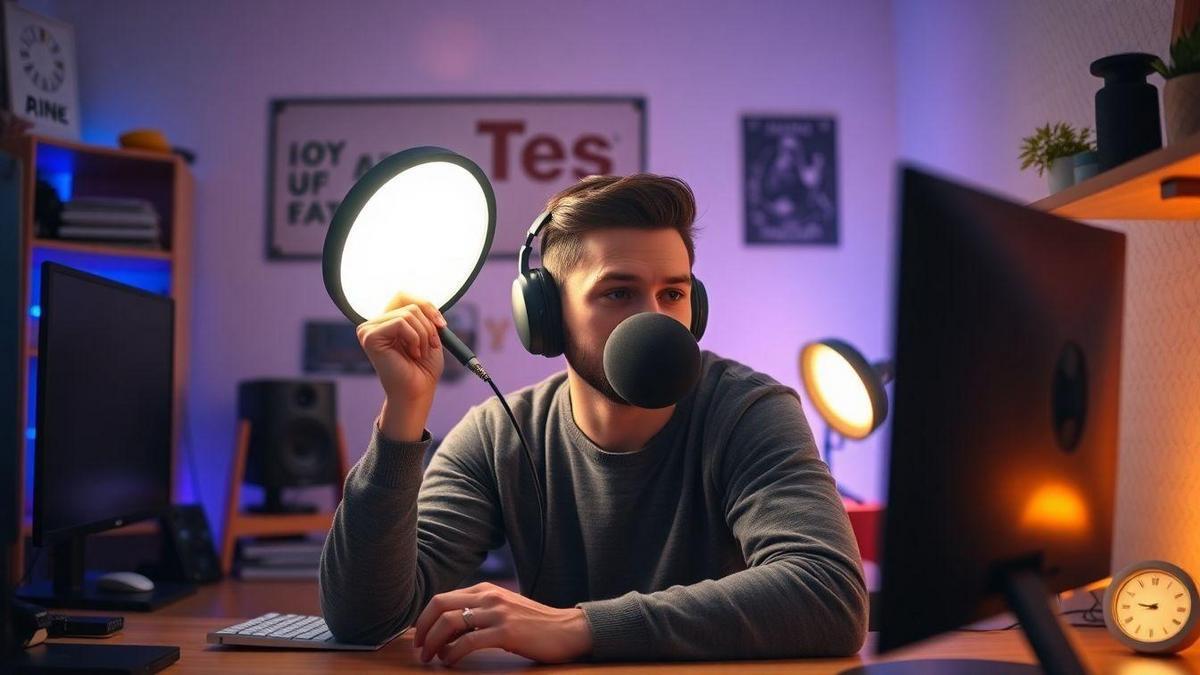
I Improve My Look with Lighting for Streamers and Room Setup
Light placement, color temperature, diffusion
Place lights so your face is bright and your background is soft.
- Aim lights at a 45° angle from the camera to reduce harsh shadows.
- Match color temperature to the room: warm (2700–3500K) for cozy, cool (5000–6500K) for crisp.
- Use diffusion (a diffuser or sheet) to soften light and reduce shine.
Quick checklist:
- Key light at 45° from camera.
- Low-power fill light opposite key.
- Hair/rim light behind for depth.
Small moves—like raising a key light four inches—fix washed-out looks.
Ring lights, softboxes, LED panels
Pick lighting based on room and desired look:
| Light Type | Best for rooms | Strengths | Drawbacks |
|---|---|---|---|
| Ring light | Small desk setups | Even face light, easy | Flat look if alone; strong catchlight |
| Softbox | Medium rooms | Soft, natural light | Bulky; needs stands |
| LED panel | Any size | Adjustable brightness & temp | Can be harsh without diffusion; pricier |
I use a small LED panel when space is tight—quickly tweak color and brightness. For cramped desks, a ring light is simple; for cinematic looks, a softbox.
Test with your phone before going live
Open your phone camera and record 10 seconds. Check for glare, hot spots, and dark patches. Adjust brightness, move lights, or add diffusion. A short test saves on-stream surprises.
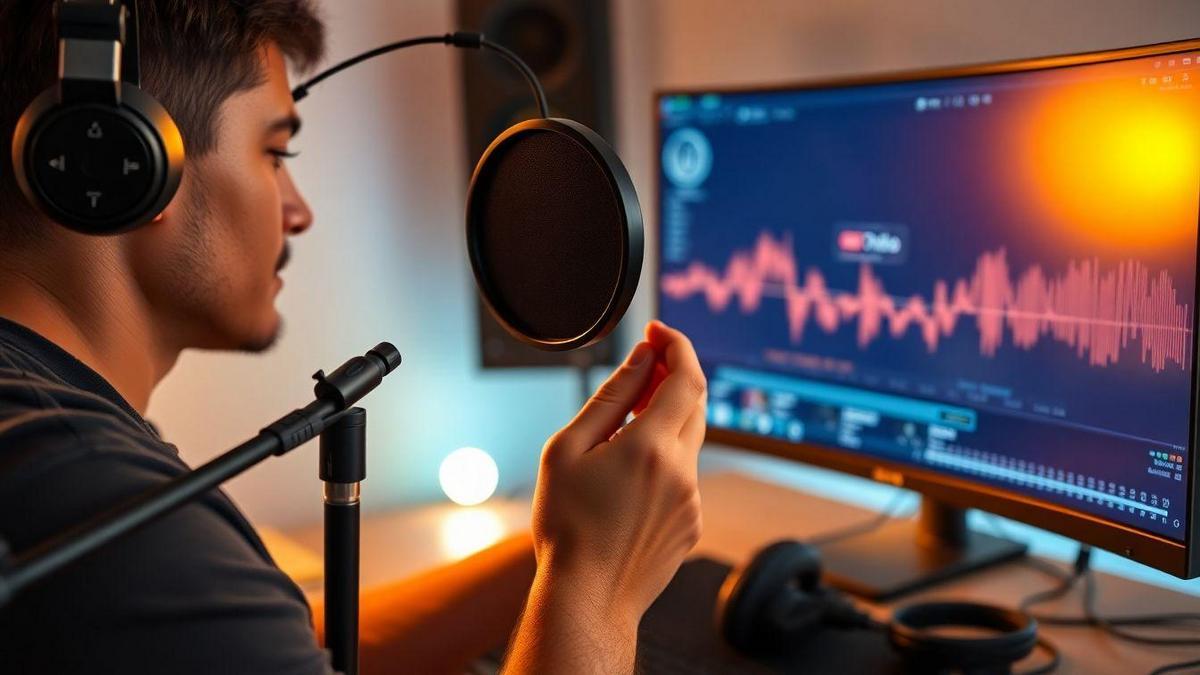
I Tune OBS Settings for Streaming to Keep My Stream Smooth
Encoder, bitrate, resolution, FPS
Pick settings so your stream runs smooth and viewers don’t see stutter. Match settings to your upload and PC power.
| Resolution | FPS | Encoder | Bitrate (kbps) | When I pick this |
|---|---|---|---|---|
| 1080p | 60 | NVENC or x264 (strong CPU) | 4500–6000 | Fast upload and powerful PC |
| 1080p | 30 | NVENC or x264 | 3500–5000 | Quality while saving CPU |
| 720p | 60 | NVENC | 3000–4500 | Medium upload or CPU taxed |
| 720p | 30 | NVENC | 1500–3000 | Low upload or mobile hotspot |
I prefer NVENC on NVIDIA GPUs for good quality with low CPU cost. If CPU is strong, test x264 at veryfast or faster. Watch the OBS Stats for encode lag and dropped frames—lower bitrate or FPS if issues appear.
Scenes, hotkeys, and test recordings
Build scenes and assign clear hotkeys for fast switching (gameplay, webcam, break). Always run a 5-minute test recording and check audio sync, video stutter, and overlays.
Pre-live checklist:
- Scene layout checked (game, mic, webcam, alerts)
- Hotkeys assigned and tested
- Audio levels balanced (game, mic, music)
- Test recording reviewed
- Network speed checked vs set bitrate
A test recording once revealed an echo caused by desktop audio routed twice—fix it before going live.
Monitor CPU, GPU, and capture cards during tests
Open Task Manager and the OBS Stats panel. Check capture card app if used. Targets I aim for:
- CPU usage: under 80%
- GPU usage: under 90%
- Dropped frames: 0 if possible
- Encode time: stable in OBS Stats
If a capture card causes lag, try another USB port or lower capture resolution to isolate issues.
Why follow this Ultimate Guide to Choosing the Best Gaming Gear for Streaming Quality?
This guide concentrates on practical, value-forward choices: prioritize audio, then video, then system and lighting. The Ultimate Guide to Choosing the Best Gaming Gear for Streaming Quality gives repeated, actionable checklists—so you spend less time guessing and more time improving your stream. It’s focused on tests you can run now, durable parts, and upgrade paths that save money long-term.
Conclusion
Keep it simple: audio first, then video, then everything else. A clear mic will improve your stream more than the fanciest camera. Pick a webcam or HDMI capture setup that fits your budget, add soft lighting, and make sure your PC, capture card, and internet can handle the bitrate you set in OBS. Test early and often—record short clips, watch OBS Stats, and check CPU/GPU load. If something’s off, tweak gain, lower bitrate, or change encoders; small fixes (moving a light, swapping a USB port, adding a pop filter) often yield the biggest improvements.
If you want more hands-on tips, gear picks, or step-by-step setups, read more at https://geeksnext.com—there’s always another trick to squeeze better quality out of your stream. And remember: the Ultimate Guide to Choosing the Best Gaming Gear for Streaming Quality is your quick checklist for smart, long-term streaming choices.
